Phothera 400 – User Guide & FAQ (ClearLink™ Controlled)
 |
1. Device Overview
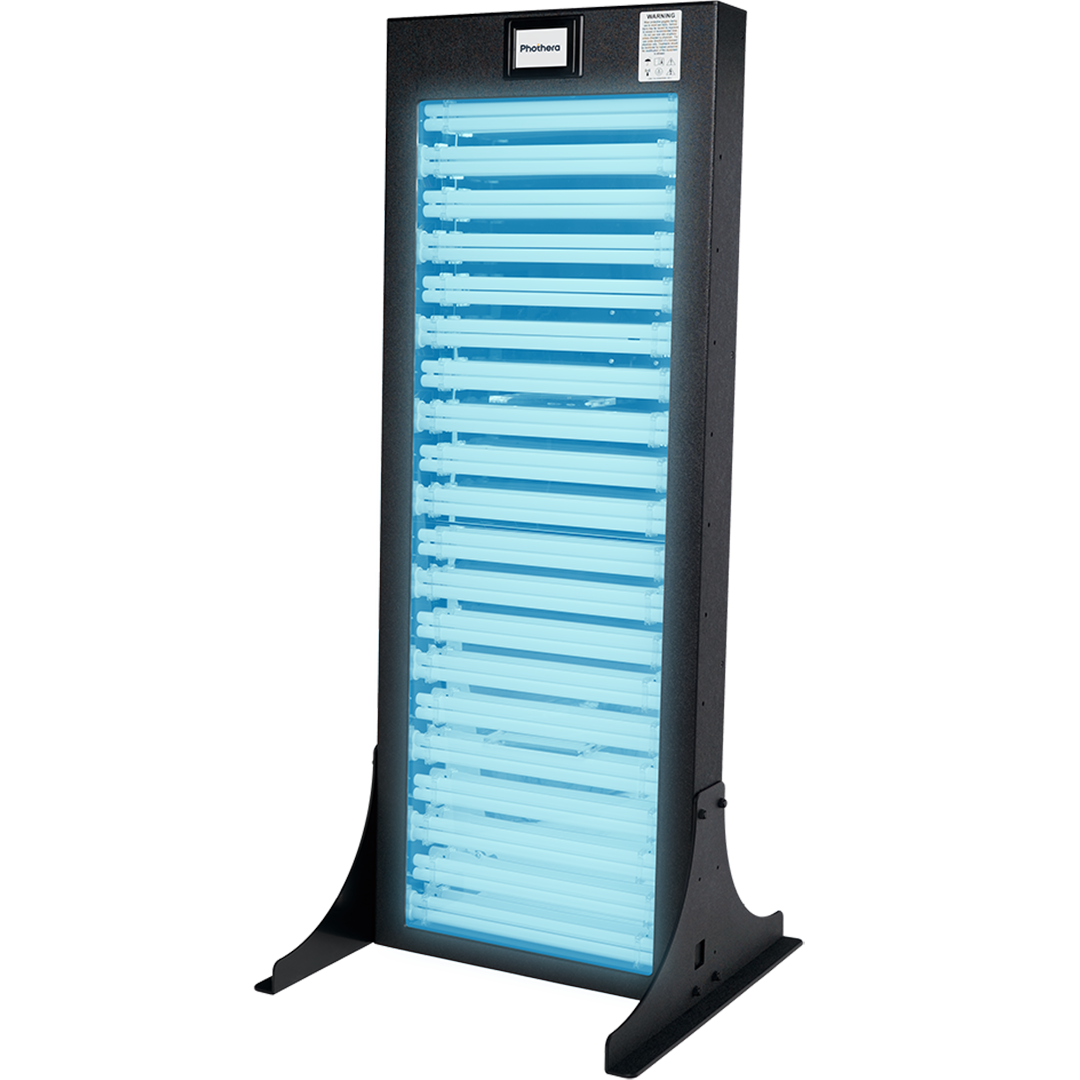
The Phothera 400 is a medical phototherapy device intended for home or clinical use. It utilizes the advanced ClearLink™ Control System and offers multiple treatment modes: Guided, Dosimetry, and Timed. The device is suitable for various skin conditions and is prescription-only. Exposure-limiting software may be included as directed by your physician.
2. Indications for Use
The Phothera 400 is intended for therapeutic ultraviolet treatment of diagnosed skin disorders (such as psoriasis, vitiligo, atopic dermatitis) under the direction of a physician. When equipped with blue lamps, it is indicated for the treatment of mild to moderate acne vulgaris.
3. Control Type (ClearLink)
- Guided Mode: System controls doses and adjusts for missed treatments and skin response.
- Dosimetry Mode: User/physician sets dose in Joules or mJ; system automatically adjusts treatment time based on lamp power.
- Timed Mode: User/physician sets treatment time directly. All modes include on-screen safety checks and reminders.
- Exposure Limiting: If enabled, the device will require a physician-provided refill code after a set number of exposures.
4. Warnings & Safety Precautions
- Prescription Use Only: Use only under physician supervision.
- Always wear UV-blocking goggles: Required for anyone in view of the device. Only use Phothera-approved eyewear.
- Cover untreated skin: Use SPF 30+ sunscreen on all areas not being treated.
- No use over skin eruptions or burns.
- Do not use if device, cord, or goggles are damaged. Keep away from water.
- DANGER – Ultraviolet Radiation: Overexposure can cause burns, premature aging, and eye injury. See the full warning label on the device and in the manual.
- Device must never be modified. Use only original components and accessories.
- Remove pets and people from the treatment area.
5. Setup & Assembly
- Unpack and inspect the device and accessories. Report any shipping damage immediately.
- Set the unit on a stable table with lamps facing up. Attach feet using thumb screws as shown in the manual (wide part level with the unit bottom, rail facing away).
- Repeat for the other foot. Stand the unit up and ensure all screws are tight.
- Insert the “D” shaped plug, then plug the device into a grounded outlet.
- Check that the correct lamps are installed (see Lamp Specification Guide in the manual for codes/compatibility).
6. Operating Instructions
- Unlock the device: Tap the blank screen, tap the Phothera logo, enter code 0007, and press Enter (see label on device or page 10 in the manual).
- Pre-treatment: Apply sunscreen, remove jewelry from treatment area, and put on goggles.
- For 20-lamp models: Select treatment distance (0 in: on acrylic surface, 9 in: 22 cm away).
- Press Play to begin treatment. The controller tracks dose/time and progress. Follow on-screen prompts.
- If interrupted, resume with Play. If still red or in pain after a treatment, device may lock until skipped session (see section 11.2 in manual).
- After treatment, record in your log or export data to USB if required by your physician.
7. Treatment Modes
Guided Mode
- Device adjusts for missed sessions and skin response, increasing safety and accuracy.
- System asks if redness or pain occurred; if “still red/pain” is selected, device locks until skipped session.
- Automatically calculates dose adjustments and provides reminders.
Dosimetry Mode
- User sets dose in Joules or mJ as prescribed. System calculates exposure time using built-in sensor.
- On-screen distance selection (0 in or 9 in for 20-lamp models).
- Press Enter to begin and track dose/time on screen.
Timed Mode
- User sets treatment time with arrows. Device calculates and tracks elapsed time.
- Timer is accurate within ±5% for 10-minute treatments.
- See manual for use of time charts or web calculator (link in Resources section).
8. Cleaning & Maintenance
- Unplug device before cleaning.
- Clean exterior with mild dish soap and a non-abrasive cloth. For disinfecting, use Monk wipes or 70% isopropyl alcohol (3 min contact time).
- High-level disinfection for multi-user devices: Use FDA-cleared product such as Steris Resert XL-HLD.
- Annual calibration (or every 100 hours/lamp change) recommended. Phothera offers meters for calibration.
- Lamp replacement: Contact Phothera for service and reset instructions.
- Do not use paper towels or abrasives on acrylic surfaces.
9. Troubleshooting
- Device won’t turn on? Check power, outlet, and fuse. Contact support if problem continues.
- Lamps not lighting? Ensure correct code and settings, check lamp status, contact support if needed.
- Device locked? Use code 0007 or request reset from provider.
- Refill code needed? Contact your physician and provide the code displayed on screen.
- Export treatment history via USB if required by your physician.
- See manual or contact Phothera support for additional help.
10. Warranty & Support
- Warranty: 1 year (device), 90 days (lamps).
11. Frequently Asked Questions
- How do I unlock the device? Tap blank screen, tap logo, enter 0007, press Enter.
- What goggles should I use? Only Phothera-provided or doctor-approved UV goggles.
- Can I treat twice in one day? No, only as directed by your physician.
- What if I miss a treatment? Device will adjust dosing; resume as prescribed, consult your doctor if unsure.
- How do I order replacement parts? Contact Phothera support.
- Device says refill needed? Contact provider for new code, provide the device code shown on screen.
12. Previous Versions
- Phothera 200XL
- Phothera 200
- Phothera 100XL
- Phothera 100